
Goddamn! I Built a Gundam!

So after years of scrolling Reddit, seeing these amazing Gundam builds, and thinking, “Yeah, nah, way too fiddly for me,” I finally cracked and bought one (or two). And now I’m sitting here, looking at photos of this little plastic dude on my cutting mat, wondering how the hell I actually pulled it off.
Picking My First Kit (aka: Jumping in the Deep End)
Of course, being me, I didn’t start small. Oh no. I grabbed the BANDAI RG 1/144 RX-78-2 GUNDAM Ver 2.0 – a Real Grade. Turns out RG is like the big leagues, way more advanced than High Grade, with microscopic bits that love to ping off into the carpet. Did I know that beforehand? Absolutely not. But if you’re going to dive in, might as well belly flop straight into the deep end.
Apparently, this is THE Gundam – the original from the first series. Even without knowing a single thing about the lore, that red, blue, white, and yellow just screams “main character energy.”
The Build (or, Me Learning Patience the Hard Way)
Straight away, I was hooked. Everything just snaps together, no glue, no mess. Every click is weirdly addictive.
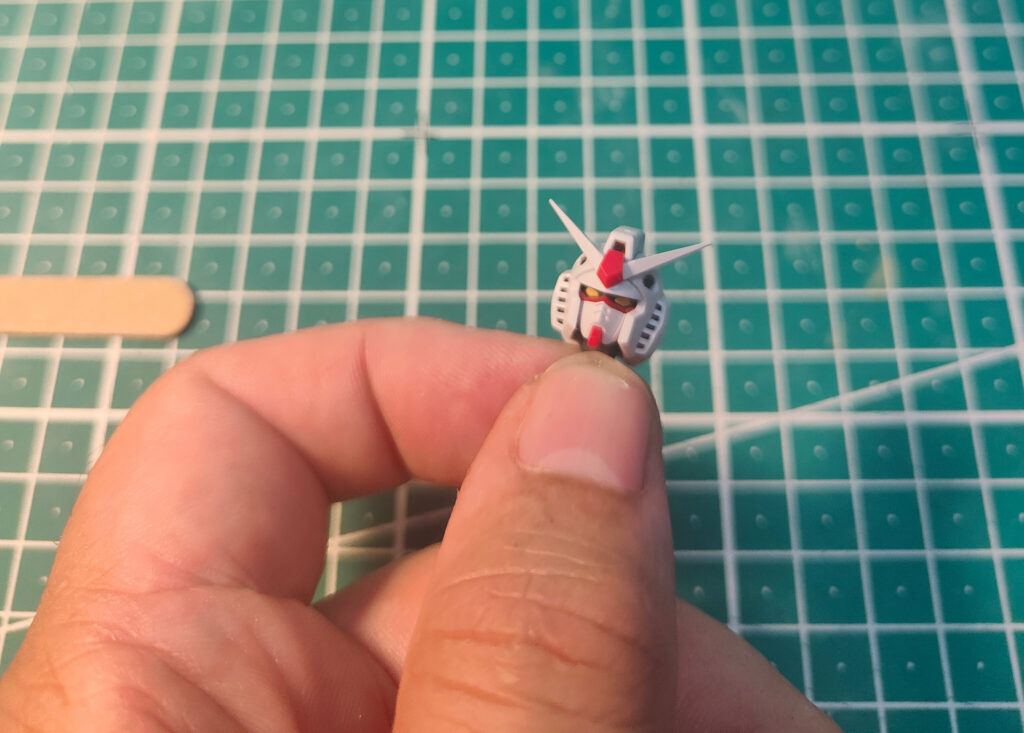
Starting with the head blew my mind. All that detail in something the size of my thumbnail – tiny vents, those big yellow eyes, the V-fin. It felt like LEGO, but on hardcore mode.
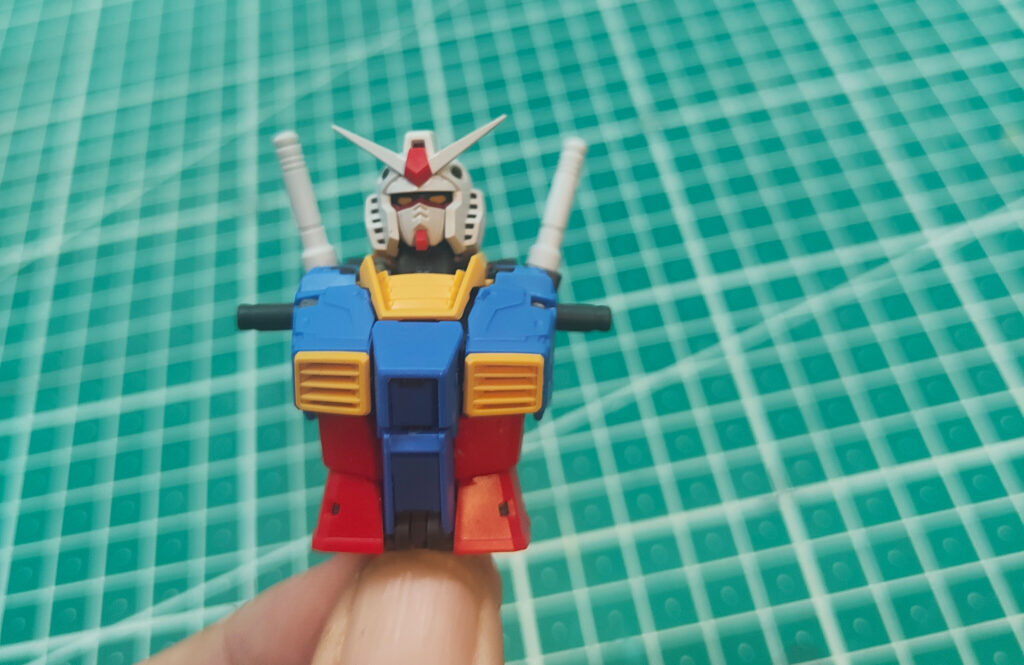
Then the torso clicked together, and suddenly it wasn’t just plastic sprues anymore, it was a proper model. Blue chest, red body, yellow vents, and I kept stopping to take photos because I couldn’t believe it was actually coming together.
Holy Details, Batman
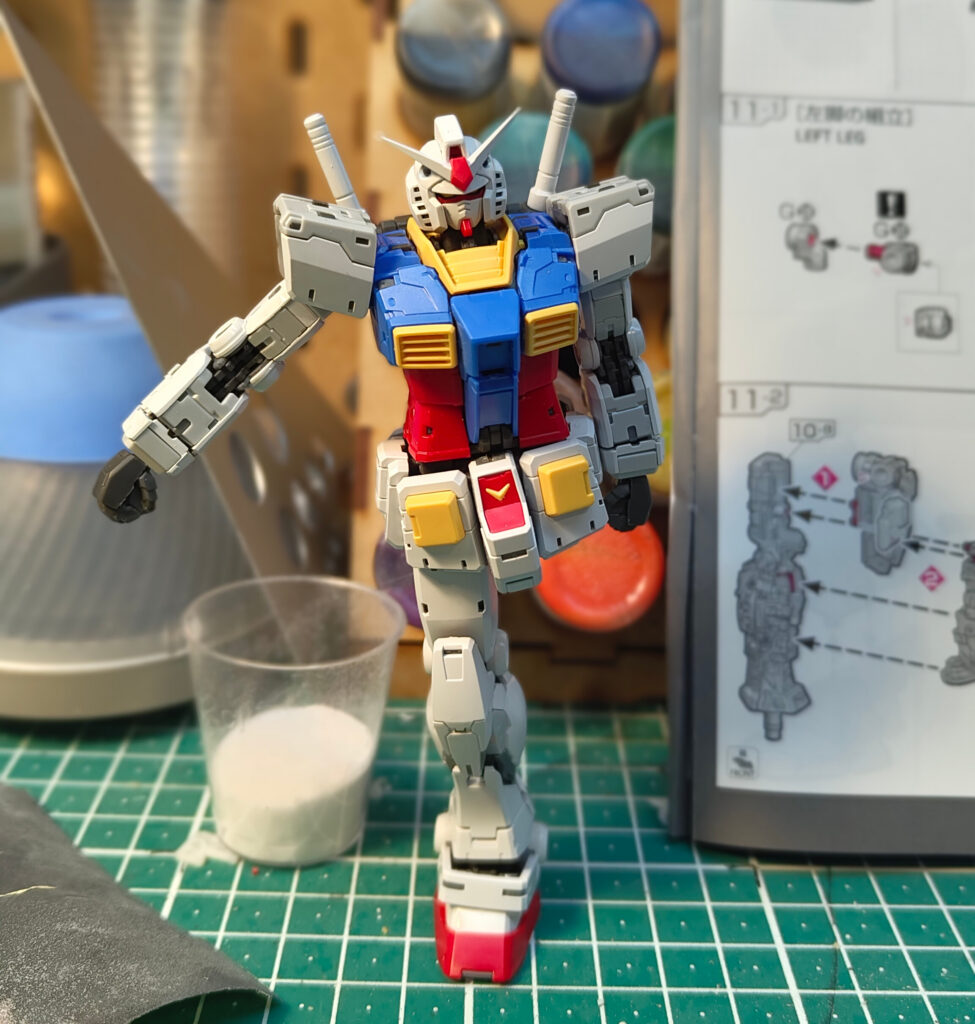
By the time I had the whole body standing up, I was spotting all these clever little design tricks. Shoulder joints that actually move, colour separation that means you don’t even need to paint, and armour that looks like armour. Whoever designed this kit is a wizard.
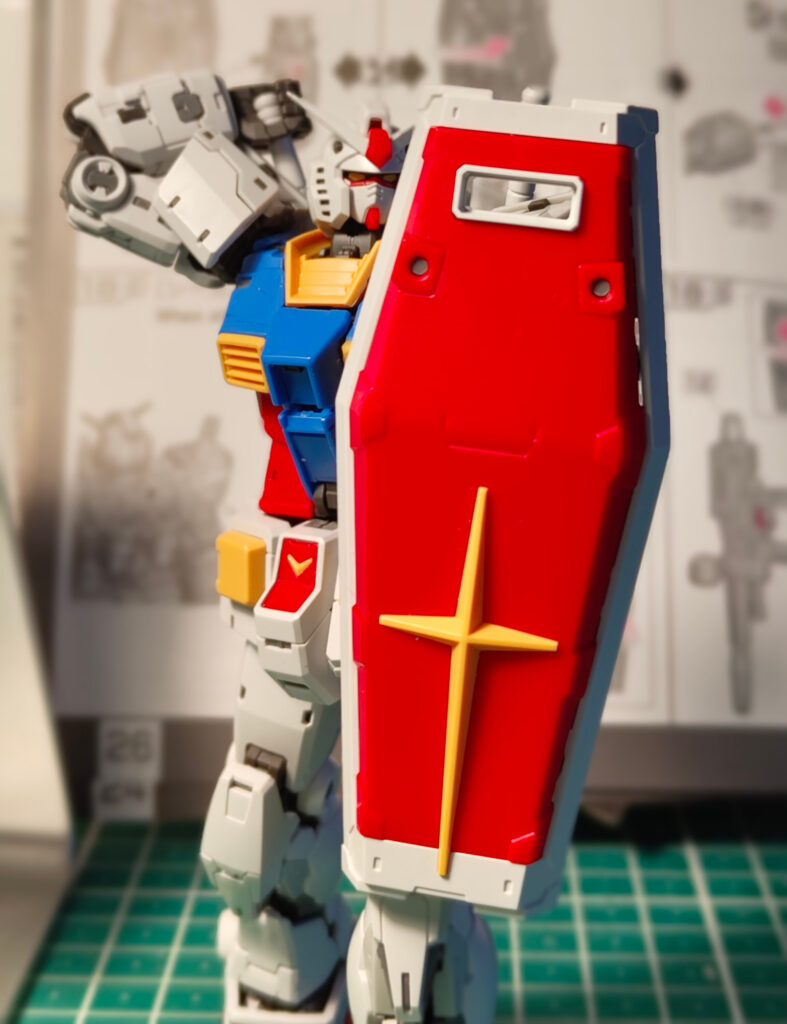
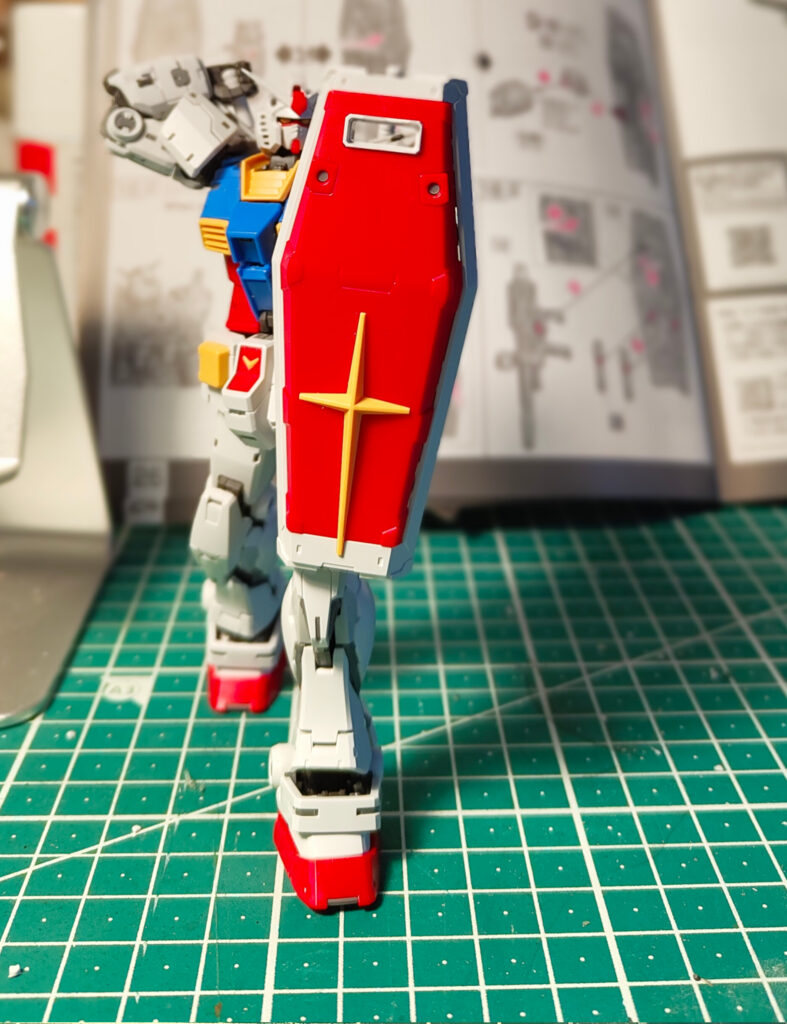
And the shield. Mate. Bright red, yellow cross, crisp white border, pure iconic. Clipping that on was the moment it truly became a Gundam.
Lessons Learnt (by Stuffing Up)
First lesson: patience. Every piece needs to be snipped, cleaned, and slotted in carefully. Rush it and you get stress marks in the plastic – which, fun fact, look awful.
Second lesson: respect the engineering. The way these parts fit, the way joints flex without falling apart, it’s genius. I’ve built plenty of IKEA furniture that felt less solid than this little plastic mech.
Third lesson: Don’t expect these kits to be like your old Airfix kits. Nice plane at the end of an evening of glueing and decal application. They take time and demand respect. I timed myself on the right arm and shoulder assembly… It took me over two hours to cut, clean, sand, and assemble all THIRTY-TWO pieces.
The Finished Gundam
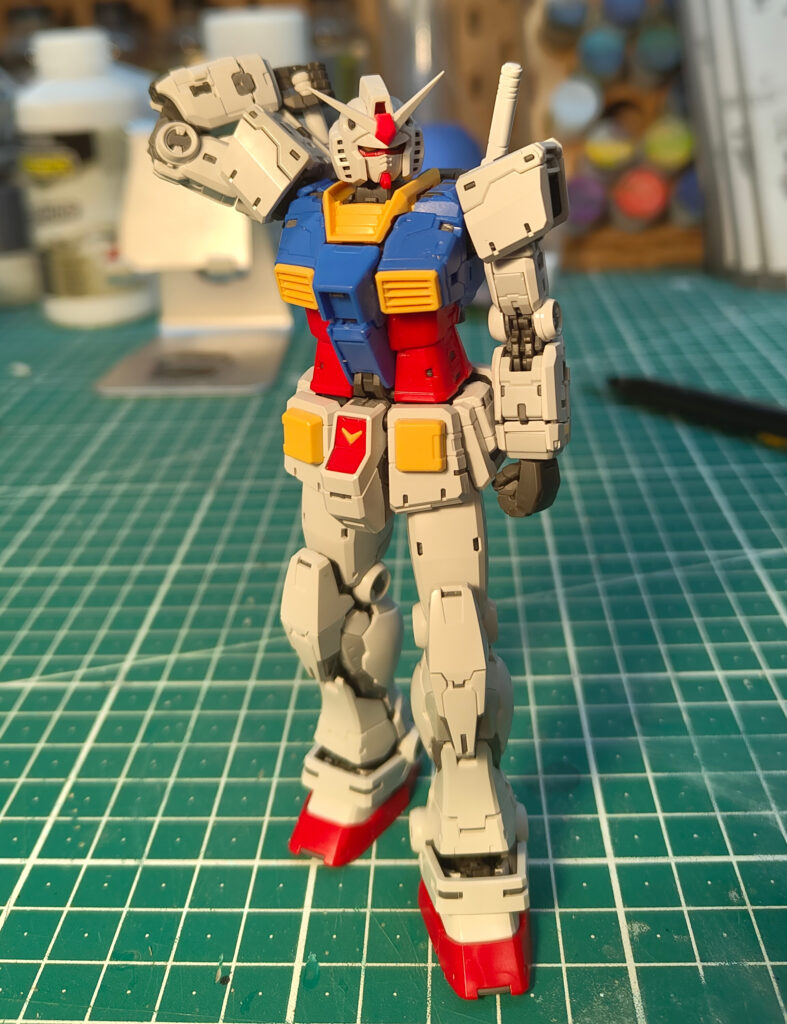

So here it is, standing proudly like it’s about to defend the Earth Federation (don’t ask me what that is, I still haven’t watched a single Gundam show). It’s not just a model, it’s proof I actually finished something tricky without giving up halfway. And it looks mint on the shelf.

Already have my next kit sitting on the bench waiting. Bandai HG 1/100 YF-29 Durandal Valkyrie. Maybe I should finally watch an episode of Gundam so I know who these guys actually are.
Would I Recommend It?
Absolutely. But maybe don’t be a muppet like me and start with a Real Grade. Grab a High Grade kit first, get a feel for it, and then work your way up.
You don’t need to be a diehard fan. You don’t need to paint or mod anything. Just building one out of the box is hours of fun, and at the end, you’ve got something genuinely cool to show off.
Welcome to Gunpla. It’s fiddly, it’s addictive, and it makes you feel like a mix between an engineer and an artist, one tiny bit of plastic at a time.