
Repainting the Black Series Thermal Detonator, Part 1: Teardown
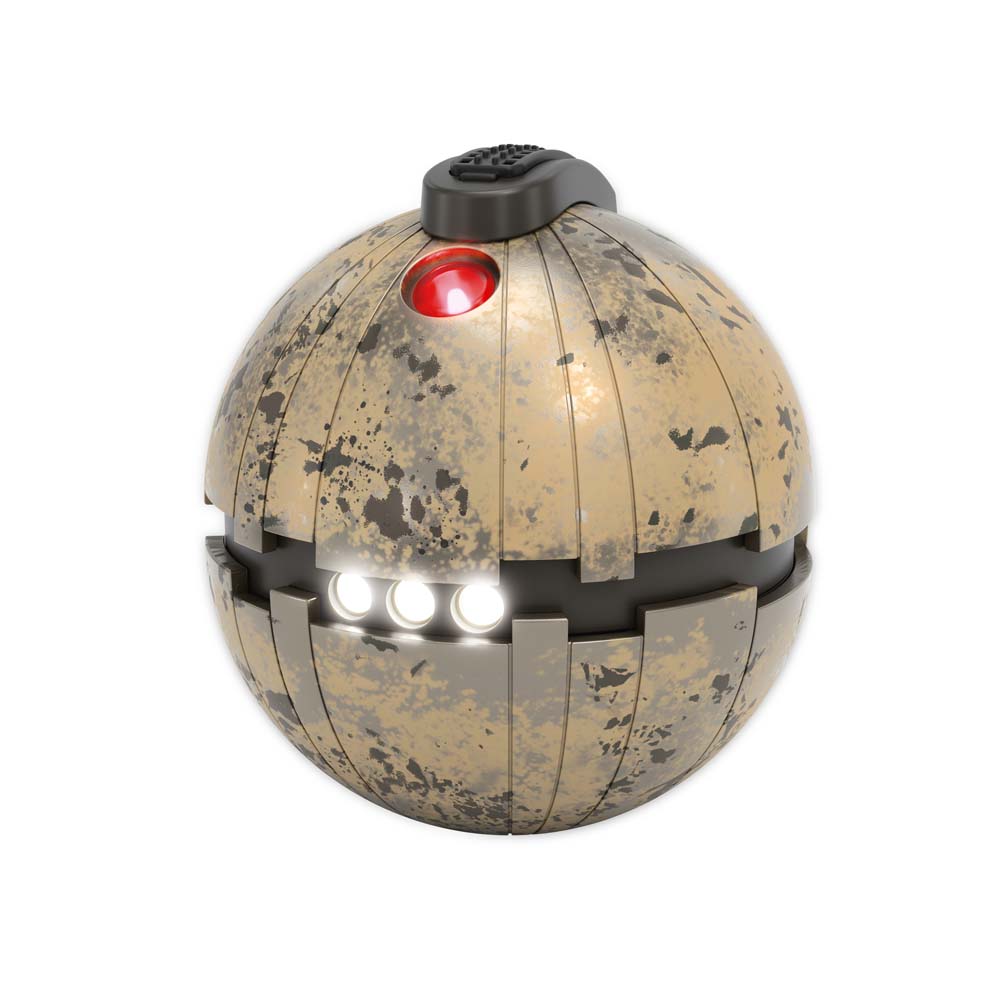
I picked up a Black Series Thermal Detonator with one goal in mind: stripping it back and repainting it to something closer to the screen-used prop from Return of the Jedi. The factory paint job is decent at arm’s length, but the stock finish is too clean, and the colours miss the grimy, handled-metal look of the original that Boushh/Leia threatens Jabba with.
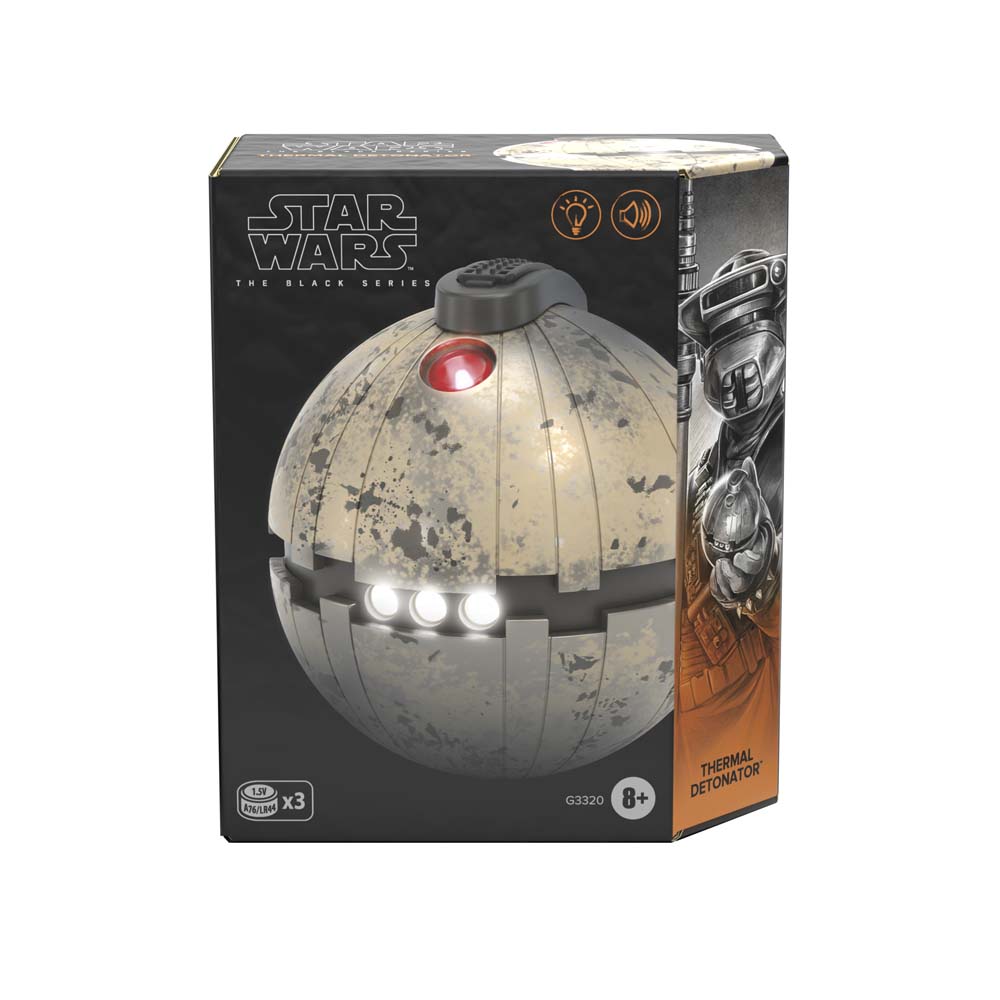
Like most of my projects, this one starts with taking everything apart before I’ve done anything else.
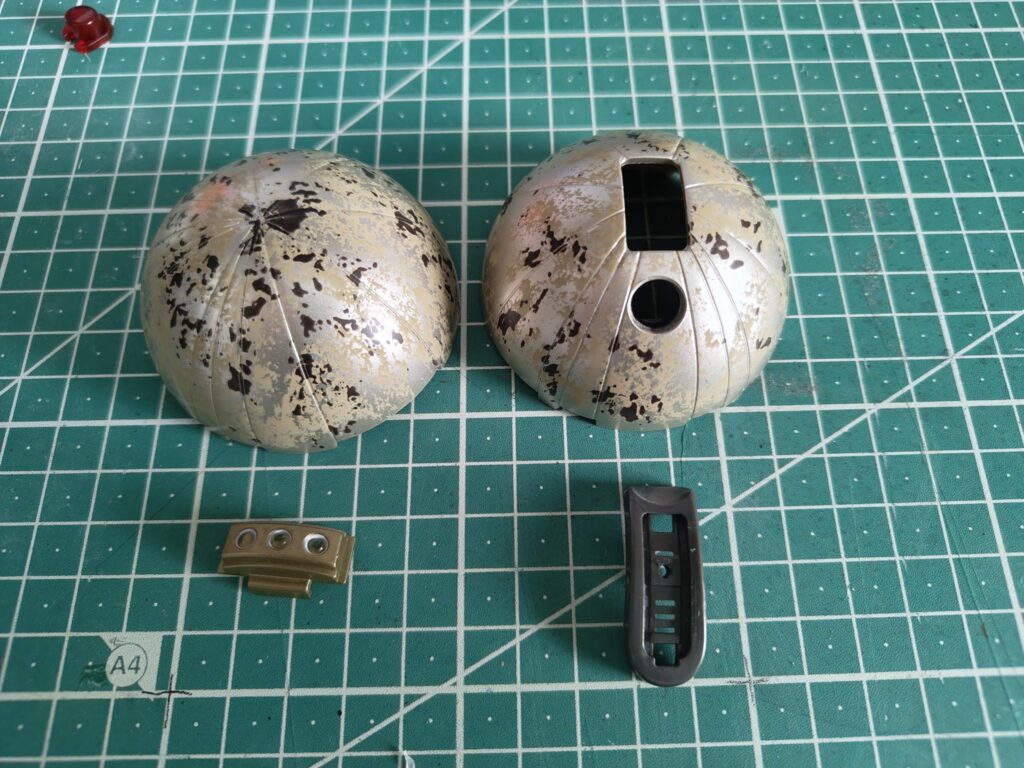
Teardown
The good news is this thing comes apart without any heroics.
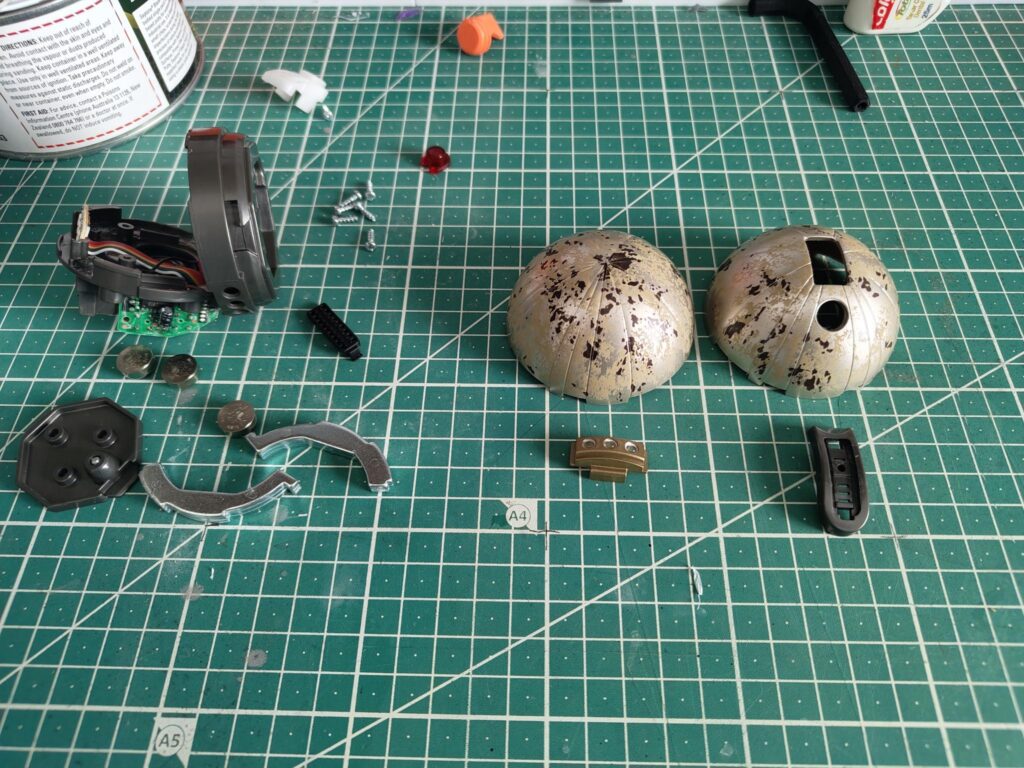
Start by removing the battery cover. Underneath are three screws; take those out and pry up the innards. That gets you access to everything inside the shell.
Next, remove the two metal weights. They’re glued in place, but the glue isn’t very strong (your mileage may vary). Under each weight are four more screws. Getting this part out was the most nerve-wracking of the whole process. I was sure I was going to break something, but again it turned out to be just a bit of glue holding it in place. With that out of the way you’ve got access to the guts: speaker, LED, PCB and so on.
One final screw holds the slide switch in place, and that’s the whole job.
Why bother with a full teardown?
Fair question. Mostly it’s about access. Having the halves separated makes spraying much easier, and it means I can darken the vent grille and other bits without overspray ending up everywhere. Disassembly also gave me a chance to see how the electronics are laid out, which matters if I ever want to upgrade the LED or sound.
The plan from here
The paint scheme is going to be built up in layers:
- Do a test spray inside the dome with Alclad Gloss Black to make sure it will stick OK.
- If that’s good, a base of Gloss Black, followed by Alclad Chrome, then a gloss clear coat.
- Then comes the weathering.
- Reassemble and see how it looks under different lighting before deciding if it needs another round.
The chrome-over-gloss-black approach should give a much more convincing metal look than the stock finish, and the clear coat protects it before I start laying grime on top.
That’s where it stands for now. Next update will be the base coats, assuming the test spray behaves itself.
